Wednesday, March 6, 2013

Tried it and Liked It - Mess-less Finger Painting


Mess-less Finger Painting

As a parent I am always trying to introduce new things to my children. I truly believe we never stop learning. I was surfing the Pinterest and came across this little idea from "hippiehousewife's Blog" and she also credits this idea back to "Mamasmiles Blog". Each taking the idea and making it their very own. I also am taking this one step more.

Mess-less Finger Painting

Items Needed:

1 large gallon storage bag

1 roll of painters tape (I used duct tape but it stuck to the table)

Finger Paint

Instructions to Create:

1) Squirt in a blob of each color into the bag in different areas.

(I used for this experiment, already finger paint that I had on hand)

2) Seal the bag and tape it down on to the table. Hippie Housewife put a white sheet of paper behind it, which I will do next time.

( I used duct tape this time, but the second one I made I used painters tape, much better)

3) Let your child at it.


This craft was a keeper. Thinking of going bigger. Maybe with homemade finger paint, and a painters tarp folded in half. A nice driveway craft on a warm sunny day. Body Painting without the mess.

Ours turned out like this.


And we also took ours and hung up on the window, it was a cold sunny day. We liked to see the sun come through the paint.


This was a craft that was really fun. We learned about mixing colors and enjoyed the squishness of it all.
My favorite part was no mess. Unless your 4 years old decides he must find out what is in the inside, then it is a mess.

Try this and let me know how you liked it.

I thought I would add a recipe for homemade finger paint. Since it is expensive and home made is always the best way.


Home Made Finger Paint

Items Needed; 

 3 tbs sugar
1/2 tsp salt
1/2 cup corn starch
2 cups of water
food coloring
small containers to put different colors in it

Instructions on Creating:

1) Combine salt, cornstarch, water and cook on low until thickens.

2) Let cool.

3) Pour into containers (we used baby food jars (cause I always make extra to keep)

4) Mix in food coloring.

Wednesday, January 23, 2013

That Wipe Able Marker and Learning Sheets


I have through the years have raised many children along with my own. I was a constant fan of always learning, worksheets was an all time favorite. At one time when my two oldest were younger I would have at least 5 more in tow of the same age. I couldn't afford to go and buy a workbook for everyone. At that time the computer came to this world and a printer. I loved printing out worksheets. I used the idea of using those clear insert pages for notebooks. The kind you can slip a paper in the pocket and then clip into the notebook. Back when I started this idea, we just used crayons, but then came the invention (or I had just found them) the washable wipe able marker.

Wipe Able Marker and Learning Sheets

You will need:

1) A children's workbook (or go on the Internet and print the ones you like)  
    For older kids you could print word finds, and connect the dots.

2) Clear Page Inserts for Notebooks ( as many as you think you need, remember you can work on both sides.
3) Wipe able marker and an eraser (we use a dry washrag)

To put this together:


1) Insert your pages into the clear sleeves. Then put them into the notebook. You can use it as a book to work from. My son is 4 so he actually does better when I take out one page at a time. 


You write on them.


and then wipe them off


This creates a re-usable surface. I like this saves money, and when you put them in the clear inserts, you can keep them nice.

We have been using these for years and I thought maybe it was time to share.

I hope that if you give it a try that you come back and comment and let me know how it worked.

Thanks again for stopping in.

Tuesday, July 17, 2012

Homemade Lunchables


In the good ole' summer time. I like to keep my kitchen as cool as I can.

I do what I can to keep my kids fed, and actually eat what is good for them. I know that this is just a take off from what you can buy. Lunch-ables is a big thing with smaller kids. Kid friendly size, and can be eaten with your hands. I used to buy the ones with the cracker, cheese and meat. Now I do this.

I buy the whole wheat ritz crackers. I put 4 on a plate. For the meat I prefer the turkey pepperoni, but I also buy the turkey ham, turkey Bologna, and just the plain turkey and cut into 4 pieces. A slice of cheese cut into 4ths. I also buy a box of juice bags and a small bag of individual size candy bars. I find that in the over all, they are healthier and cost wise a better deal. Without the pretty carton. I know there are some great little Tupperware type containers out there, so you could also buy one to use instead of bags to throw away.

For a toddler the 4 pieces is enough. For my older ones I double that. I also pre-make them in the fridge, stored in individual snack bags. I do not put the crackers in the refrigerator, but I do pre- count them into baggies and store in my bread drawer.

I wanted to share this today, cause it is so hot out there. Just one way of pleasing the kids and my wallet..

If you ever have any cute ideas you would like to share..just holler my way.

Until we read again...get out there and make something yours.. do something fun.

Wednesday, April 25, 2012

Home Made Learning Cloth 2


I am thinking I will change the name from the clear plastic table cloth.. to a home made learning cloth.

Posting another idea we are using this week with it.

I took pages from a pre-k workbook and slid them under. He worked all the puzzles and seek and find, like a pro. When he was done we just wiped it off. I will leave it for a few days, because as different family members sit down they work with him and that is the repetitive part of learning.


This is really amped up on his learning, just this week, he is saying numbers, alphabets.. he is like a sponge, ever absorbing.

This mat has also been on my kitchen table, which is where everyone eats and hangs out. So it seems that my dry erase markers are being used not just the littlest, but the biggest. They all like actually writing on it.

We are planning a trip, so there is a map, we work with.. and we are building a swing set, and we are drawing and planning it.

I hope that you give this a try, for the big ones or the little ones...

Wednesday, April 18, 2012

Home Learning Cloth --- a new idea for your table


This is our kitchen table.

Yes, the one we share our meals on. I gave up fine dining awhile ago, 21 years to the day.

I find that our table is the center of our home. We talk, laugh, cry, work out problems, homework, art, crafts and play games on.

Our new use for it, is a large wipe off board for learning our name and alphabets. (Well I already know my name..I think I do!)

I have plans to branch out for other things, which I will post as I go along.

Our table has a regular plastic table cloth on it, printed in a bright springy pattern. On top of that is a sheet of heavy plastic that I purchased at the fabric store. They have it for I don't know what, they have some with even prints on it. I actually purchased it to keep the one table cloth looking bright and clean through the season. It ran me about 15 dollars for my large table. They sell it by the foot.

I also bought a box of different colored dry eraser markers.

Please remember if you are using this with a 3 years old, please watch them, mine had the habit of pressing too hard and popping the marker into itself. Ruined a few of them. Also remember to teach your little one and big ones to put the lid on and tap on the table to make sure it shuts. Lost a few to dry out.

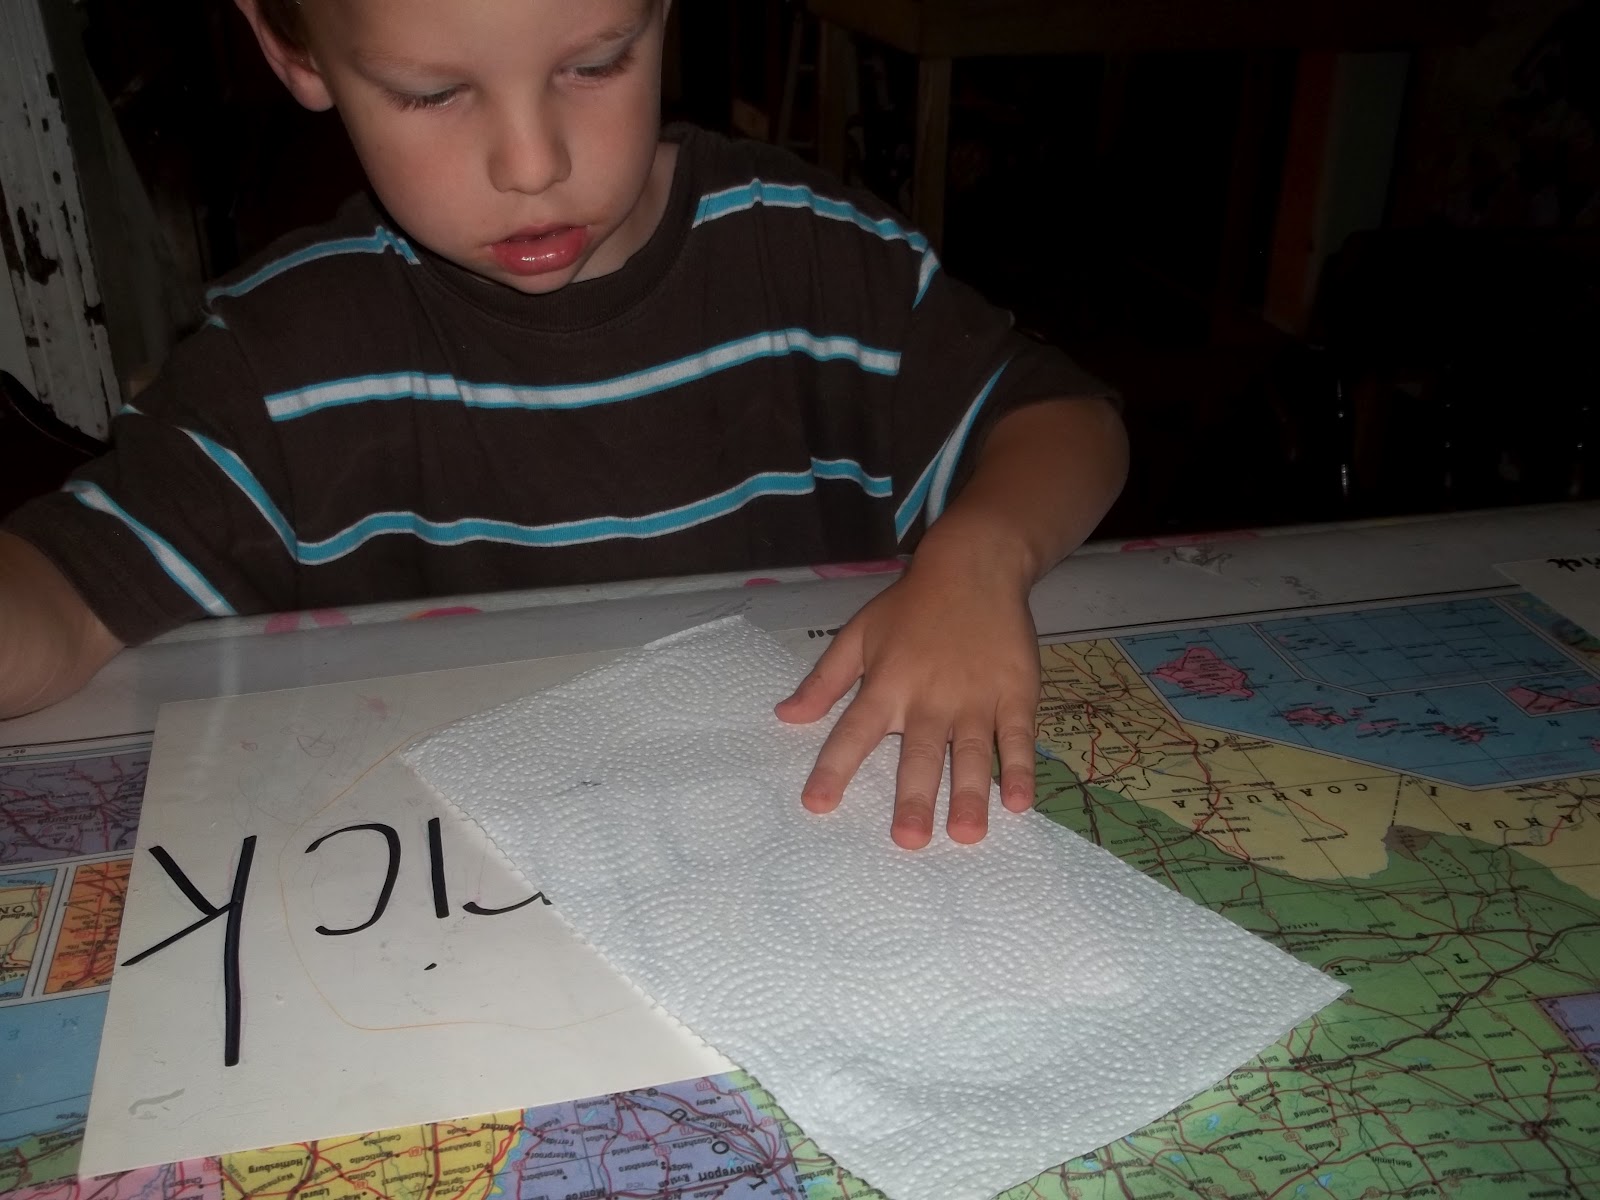
 Eventually my creative mind took over and we first layed a map on it, to plan our summer week run.


Then I started to write up cards of my sons name for him to practice writing, then alphabets.


When he was done, all he had to do was wipe it off.

Gosh, it started to great for everything. The play sheet pad for playdough slipped right under and then they didn't have to constantly straighten it over and over.

We started to slip the game boards under it, because some reason at my house, it constantly is moving and with having to keep it on the table and the pieces. Well you get the idea.


Please also if  you use the dry erase markers, be sure to wipe off. I look pretty silly sporting different colored sleeves on my skin. I also when we are finished just a quick squirt with windex and wipey, wipey.. and back to normal.

This week I am looking for dot to dots to put under to play and a few maze games..

I just wanted to share with you. I promise I will post more as I keep getting my creativity on.

This actually is fun, and makes us a little closer. Draws us together...and isn't that what family is all about.

Tuesday, April 17, 2012

Magnetic Board (made from an oil drip pan)


This is a really neat idea.

I wanted to share it with you. I was inspired from http://morethanabcand123.blogspot.com/search/label/GIANT%20magnet%20board
shes got a giant one. Makes me want to expand and find more uses for it.

I did not create this great little idea. I sure did find it really a fun thing, we have messed with it every day that we put it up.

It is really fun for the kids. Gave me a place to really let the magnets hang, cause after awhile the fridge gets a little overwhelmed. Then if someone is in a real mood and slams the door, shewwww there go the magnets.

All you do is go to a auto parts store, or walmart and get an oil drip pan. They run about 10 dollars.
They are very greasy feeling, so before you do anything, wipe them down. Took me a few clorox wipes and we were good.

Hang where you would like and we use screws with a washer head on them, just in case someone got rough and try to knock it off. Around here they run like elephants up and down the hall.. Install and get busy. Our magnets were the generic alphabets ones. (actually a goodwill find.. thanks to who ever couldn't stand picking them up any more..lol) and the dinos we got are the melissa and doug ones. I think they were only 9 dollars on amazon.

So I discovered the new thing Pinterest. I kinda only look at stuff for kids, recyclables (seems like I generate alot of garbage..lol)

You could also use it for all kinds of stuff besides kids. Maybe a note board in the kitchen. You can use the old flat magnets from business and glue and cut out other things and make whole new magnets.Well gotta roll outie here.. on to cleaning up the kitchen. We made chocolate pancakes today...

Have a wonderful day.. get out there and play a little.. it is good for the soul!

Tuesday, April 10, 2012

Cut 'n Seal PBJ on the go..and cheaper too..


Hello to everyone that is stopping and reading my blog. I hope over the months I can get all my ideas in order for me to share.

I usually come up with these ideas out of necessity.

I wanted to share with you guys, Is the frozen pbj sandwich. I went to Walmart and saw the Smuckers Frozen PBJ's and yes, I must admit I bought some to try. They were quite expensive. I also saw that they were just a bit too thick for the little baby to eat. I love the round compact size of them. You could just also pop them in the baby bag and by the time someone wanted to eat they would be great.

My take on this is..
I guess you could cut them and freeze them, but I went one better. I have a pampered chef cut and seal $9.00. It presses down the bread and cuts the circle and seals it great. (I posted a picture above)

Peanut Butter and Jelly (on the go)

1 loaf of really fresh white bread (or you can get wheat)

Peanut butter

Jelly

12 cheap sandwich bags

Ice cream gallon bucket (walmart is now selling rectangle ice cream buckets they are even better)

I spread each sandwich as thick as I like.

Press each one with the cutter into a round.

Slip them into a sandwich bag (you can use the cheap ones they are just to hold them) and then put them in the icecream tub. This keeps them fresh from the freezer.

I got about 12 out of a sandwich loaf. Which I figure I did well, cause in the box I think you get about 6 and they are atleast 4 bucks.

My kids loved them. I would pull out two at breakfast and by lunch I would just hand it off to the kids.

I hope that if you get a chance you could give it a try.
Some other ideas could be other sandwiches, ham, balogna,cheese and freeze.

If you want to comment please do.

Also wanted to tell you in note:

 I tried the new Koolaid Fun Fizz tablet.. very cool, very convient, they come in a tablet. I can take a 9oz baby cup with water and get a quick cup of koolaid. I do not do this all the time, I am a big advocate for water in your cup, but for a quick switch it worked great.

Thanks for taking the time to read. Please keep in touch and enjoy.

May your days be wonderful and God watch over you always.

Wednesday, April 4, 2012

"Waste Not, Want Not" quickie recipe 'Pizza Buns'


It is the sign of the times. We all have to be careful in our spending and one place that we actually have control over is groceries. I don't know about anyone else, but my list weekly consists of basics and add ons to what I actually have on hand at home.

I usually keep hamburger buns on hand to make a quick burger, or bq sandwich. I always, but always have a spare package in the freezer.

Of my favorite food saves is this bun pizza. I also do this with hot dog buns that have been sitting. They don't even have to be fresh and squooshy..

Been making these for years. A great way to clean out the fridge of toppings too. My bunch just actually like them plain with cheese.

A great tip, that I use, I use spaghetti sauce for the sauce. After opening the can, I pour it into a empty throw away water bottle, makes it easier to dispense and then if you think you won't use it, you can pop in the freezer for another day. Just thaw and you are ready to go.

I sometimes do this with tomato juice and then when I make chili, I pull out the ones in the freezer. Tastes the same.

Pizza Buns

Ingredients:

Spaghetti Sauce

Mozzarella Cheese or Shredded Cheddar (I have even used Velveeta before)

Leftover Buns of any type

Instructions:

Simple basic.

1) Spray cookie sheet with non- stick ( I always use foil on my pans >>me, lazy..lol)

2) Lay out buns.

3) Put on Sauce ( I sauce all the way to the edge, little kids seem to think that when the sauce stops they stop there and I really don't like to waste)

4) Put on the cheese.

5) Pop in oven at 350 for a few minutes, till melty..

Be sure to let cool a bit. I usually make this for 6 or more and they eat about 4 a piece, so keep alot on hand.

Disney 5 n 1 Tasty Baker


This is my new toy. It was a tad bit expensive, but I have a 3 year old that is really, really into Mickey Mouse. I also figured that Mickey Mouse is a classic and I will be able to pass it onto my children. Knowing me, I will save it here for when I have grandkids.. Nothing is cooler than finding something different to do at Grandma's.. That won't happen for hopefully another 10 plus years..

It was really cute and the wells inside for the figures, where really well made.

When you use it you must fill them all the way up. I tried a few ways and still wasn't getting the results I wanted so I bought this...


It held my one cup dry and my 2/3 cup of water to make pancake mix. Then I just shook it.


It breaks into pieces to clean easily.

This is a really neat gadget and did the trick. So this morning we had pancakes. My son was thrilled.


Cute Right!


______________________________________________________

I do have to apologize I haven't been back in awhile. I have some new ideas to post and I have been overwhelmed keeping up with my ww recipes.  I promise to do better..

Hope you drop in anytime..


Thursday, January 19, 2012

Mini Doughnut Maker


The Mini- Doughnut Maker.

A gadget for making a great treat for the kids. 

I took one package of muffin mix and got 26 little doughnuts.

You could dip these in all kinds of coatings and give the kids sprinkles to decorate them before the eat them.

I know gadgets fill up space, and that usually they end up all dusty.. but in my house, as long as there are kids and adults that are kids, we are always looking for a fun way to stuff.

I would actually advise you to look at your local Goodwill, Salvation Army.. Usually gadgets like these get given away cause they do collect dust..lol..But I am sure you will get a good use out of them

Thursday, December 22, 2011

Santa Popsicle Stick Magnet

Santa Popsicle Stick Magnet

I was going through some old boxes of crafts that my bunch used to make years ago and I came across a few cute ones.


What you need:


5 Popsicle sticks (paint them white and let dry)

White Paint

2 small leaf shape cut from white paper (this is Santa's mustache)

2 google eyes

Red triangle for the hat

small puff for the tassel on the hat

small piece of paper (mine is pink so you could see it ) (use it for the base to glue your sticks on)

black marker

piece of magnet (I always save all the old ones from pizza places and such)

What to do:

A) Glue the sticks onto the background piece


B)glue all in a row and let dry


C) glue on hat (red triangle)


D) glue on tassel
E) glue on googly eyes, the two sides to the mustache and then draw a small mouth.
F) When completely dry flip over and glue on magnet, dry and then hang up.

Now if you are doing this with your kids, be sure to write their names in a smartie marker (permanent) and the date.
Memories can last forever. Be sure to put in a baggie and put up with your Christmas stuff, even if you don't hang every year it is really a cool thing to get out and talk about making it together.

Get out there and make some memories...
                            

Tuesday, December 20, 2011

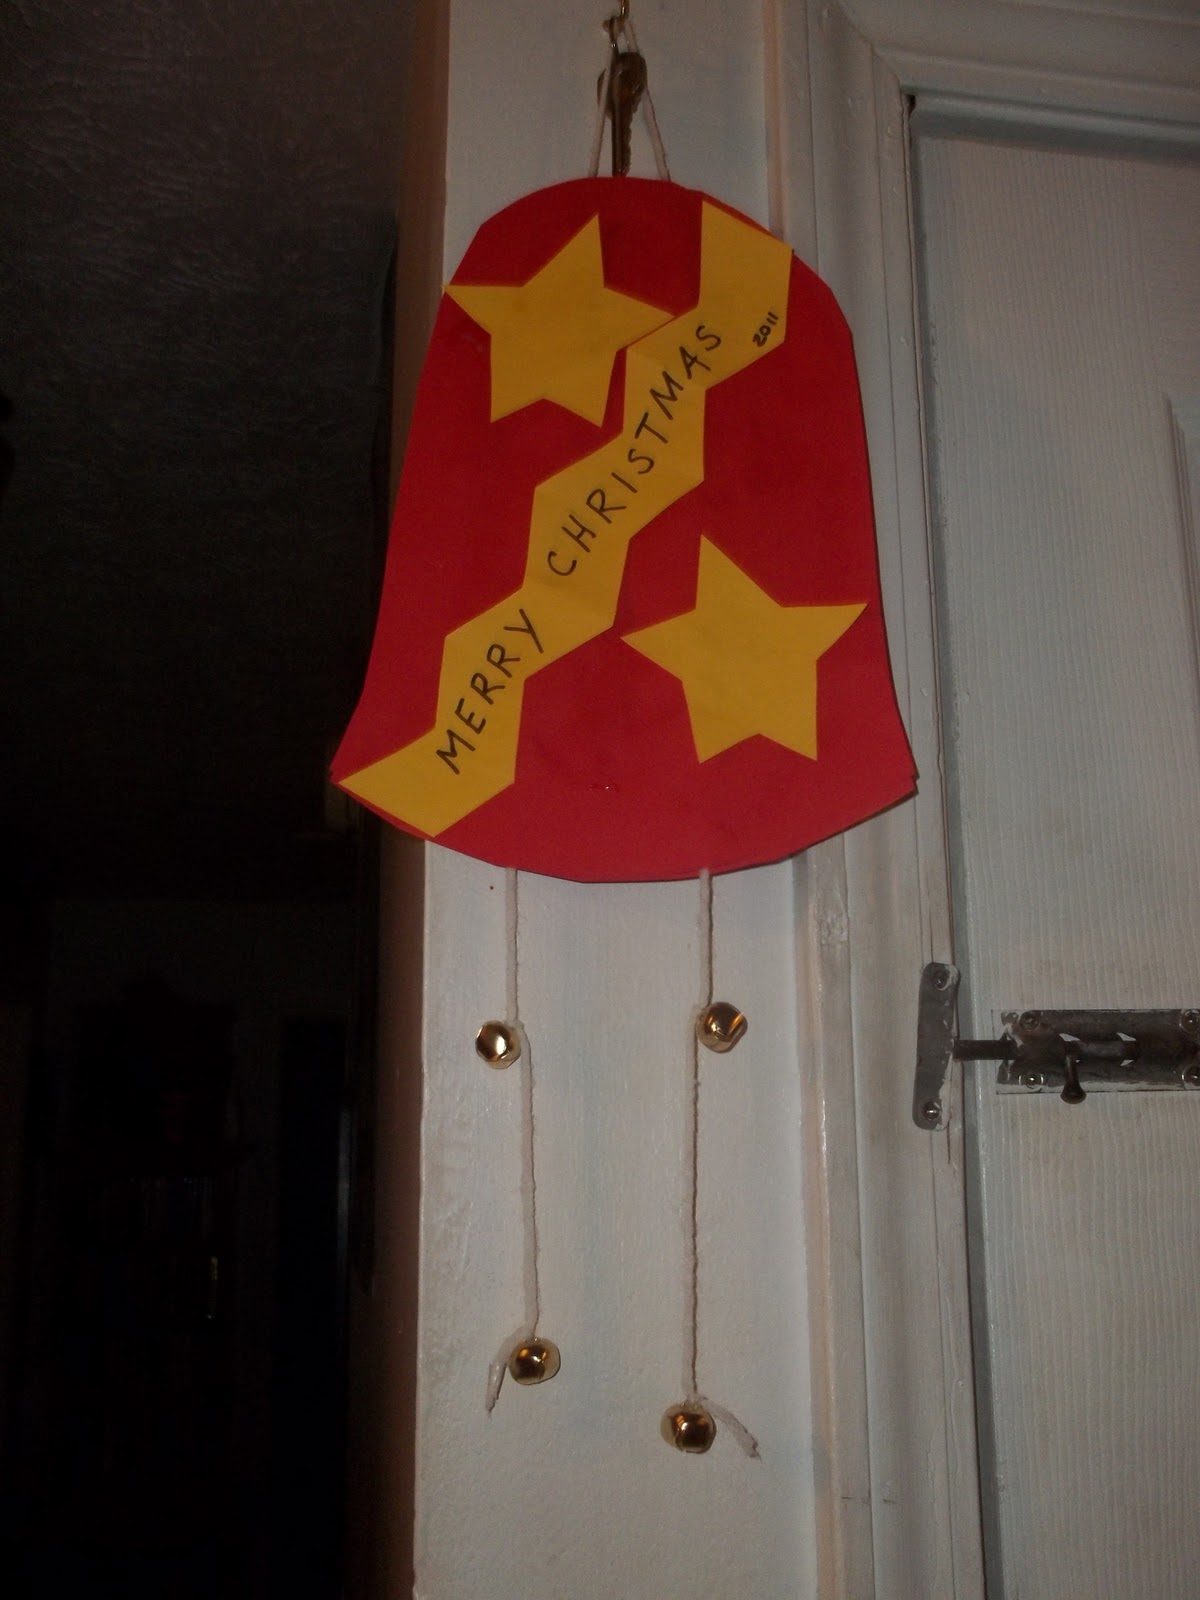
Christmas Hanging Bell

Christmas Hanging Bell


What you will need:


18"x12" paper (what ever color you like)
48" of string
4 medium jingle bells (only medium or large - small is too hard to do)
scissors
glue
markers, crayons, *
* glitter, paint, stickers


What to do:


A) fold paper

B) folded in half (makes two bells when you cut them out)


C) Trace a bell on paper

D) Cut the bell out
                          

At this point you can give the bell to the kids to decorate the way they like. For the smaller kids I recommend crayons, markers if you are brave, and paint if you are braver.


E)
Take the string and fold equally in half and lay on the bell with the top of the string (that makes the loop) sticking out about an inch or so. Then lay string down on the inside of bell (spread apart so that they don’t cross and have plenty of room to hang and jingle).

F) Put glue all over inside and put the top piece on. Let dry.


After it dries, we are going to string on the jingle bells. I used only 4 but you could add more.


G)
Now we need to thread the bells on. In this picture I show a great way to make the thread go through the hole on the bell. Take tape and fold over end then cut into a point.

H)
Thread the bells on. The first one put on and pull up to an inch below the bell and then tie on. The last bell put on the end. Secure it.

The finished project. (In my instructions, I left mine undecorated so you could see what I was doing.)


All that is left to do, is hang in an area where it can catch the wind to make it jingle, or put in a window. You could make them smaller and make them christmas ornaments.


Tuesday, December 6, 2011

Santa Handprint Paint Magnet


I think I am kinda stuck on the hand print gifts. Naw... They do make very good ways to share your growing children with the ones you love.

This one is very easy, but kinda messy. Also when I start a craft with everyone, you have to remember that you are only one person, and if you have multiples making this you need to keep the ones who are next in line for personal assistance, entertained. I usually lay news paper all over table and then start the crafts, as we complete them, I hand out extra paper to do a little imagination art work. I always keep finger paint on hand. A piece of paper a few squirts of paint and off they go.

This gives me time to cut out the finished product and put a magnet and names on it.

For this you need red and white paint. A black smartie marker.

Paint the fingers white, the thumb white , the top of your hand red and leave the middle of your hand clean.
For example:


Next take a piece of any color paper you like, we used a red here for the example, my son is my  model. Press the hand down onto the paper.


Pull up hand and let dry. (take paper away so kids won't continue to art work on it)


Take a Smartie marker and trace around hat, and make a face.


I cut mine around it to make it small enough to put on refrigerator. I glued magnet on and let dry.

This was a really cute craft and makes a great memory thing to put up for years to come.

Here's a picture of what was going on, while the hands were drying...